

Learning to Climb in Nepal: Courses and the Honest Progression
यो कथा अहिलेलाई अङ्ग्रेजीमा मात्र उपलब्ध छ।
Glacier travel, self-arrest and fixed-line technique can all be taught in Nepal in under two weeks. Altitude tolerance cannot — here's the real progression.
NepGem टोली · स्थानीय गाइड र यात्रा योजनाकार
· १३ मिनेट पढाइ

Co-authored with an NMA-licensed climbing guide (licence no. on file) · Last verified: September 2026
You can learn crampon technique, self-arrest, roped glacier travel, jumar ascent and rappelling in Nepal in under two weeks, either through a formal basic mountaineering course or through the pre-climb skills day most reputable operators build into an actual peak-climbing itinerary. What no course, anywhere, can teach you is how your specific body will handle 6,000 m or 8,000 m of altitude; that can only be tested, progressively, on the mountain itself. If you have not yet compared the peaks these skills apply to, peak climbing in Nepal ranks all of Nepal's trekking peaks by difficulty; this article covers how to actually acquire the skills before you stand at any of their base camps.
The progression, in four steps
Nepal's climbing ladder has four honest steps, and skipping one does not save time, it moves risk onto a mountain where the consequences of being unprepared are far larger.
Step one is a multi-day trek at altitude with no technical climbing at all, such as Everest Base Camp or Annapurna Base Camp, both of which cross 4,000 m and above. This step teaches you nothing about ropes or crampons, but it gives you real information about how your own body responds to sustained altitude exposure over one to two weeks, which no gym or home-country hike at sea level can substitute for.
Step two is a non-technical trekking peak, such as Yala Peak at 5,732 m, which introduces basic crampon use on a moderate snow slope and a first experience of moving roped to a guide, without crevassed glacier or fixed-line technique.
Step three is a standard trekking peak with real glacier travel, such as Island Peak (6,189 m) or Mera Peak (6,476 m), both of which require crevasse-aware roped travel, a fixed-line ascent on steeper ground, and the endurance for a long, cold summit day starting well before dawn.
Step four is a technical expedition peak, such as Ama Dablam (6,812 m), which demands sustained rock and mixed climbing at altitude, multiple high camps, and a level of self-sufficiency on technical ground that a guided trekking-peak client is rarely asked for. Very few climbers should attempt step four without having genuinely completed step three first, not merely read about it.
Each step also changes who is legally responsible for what on the mountain. Nepal's trekking peaks are classified by the Nepal Mountaineering Association into Group A and Group B, with fees and required staffing scaling up through that classification, and a technical expedition peak like Ama Dablam sits under a separate, more demanding expedition permit again. Skipping a step does not just add physical risk; it often means arriving on terrain your permit category and your guide's staffing plan were never built to manage safely.
What a basic course actually teaches
A basic mountaineering course, whether run as a dedicated multi-day programme or compressed into a pre-climb skills day, teaches a specific, learnable set of physical techniques, not judgement, which comes later with repetition. Crampon technique comes first: flat-footing on moderate snow, front-pointing on steeper ice, and the balance adjustments needed to move efficiently in both without wasting energy kicking in badly. Ice axe use follows immediately alongside it, covering the self-arrest position for stopping an uncontrolled slide, and basic axe placements for balance on ascending and descending slopes.
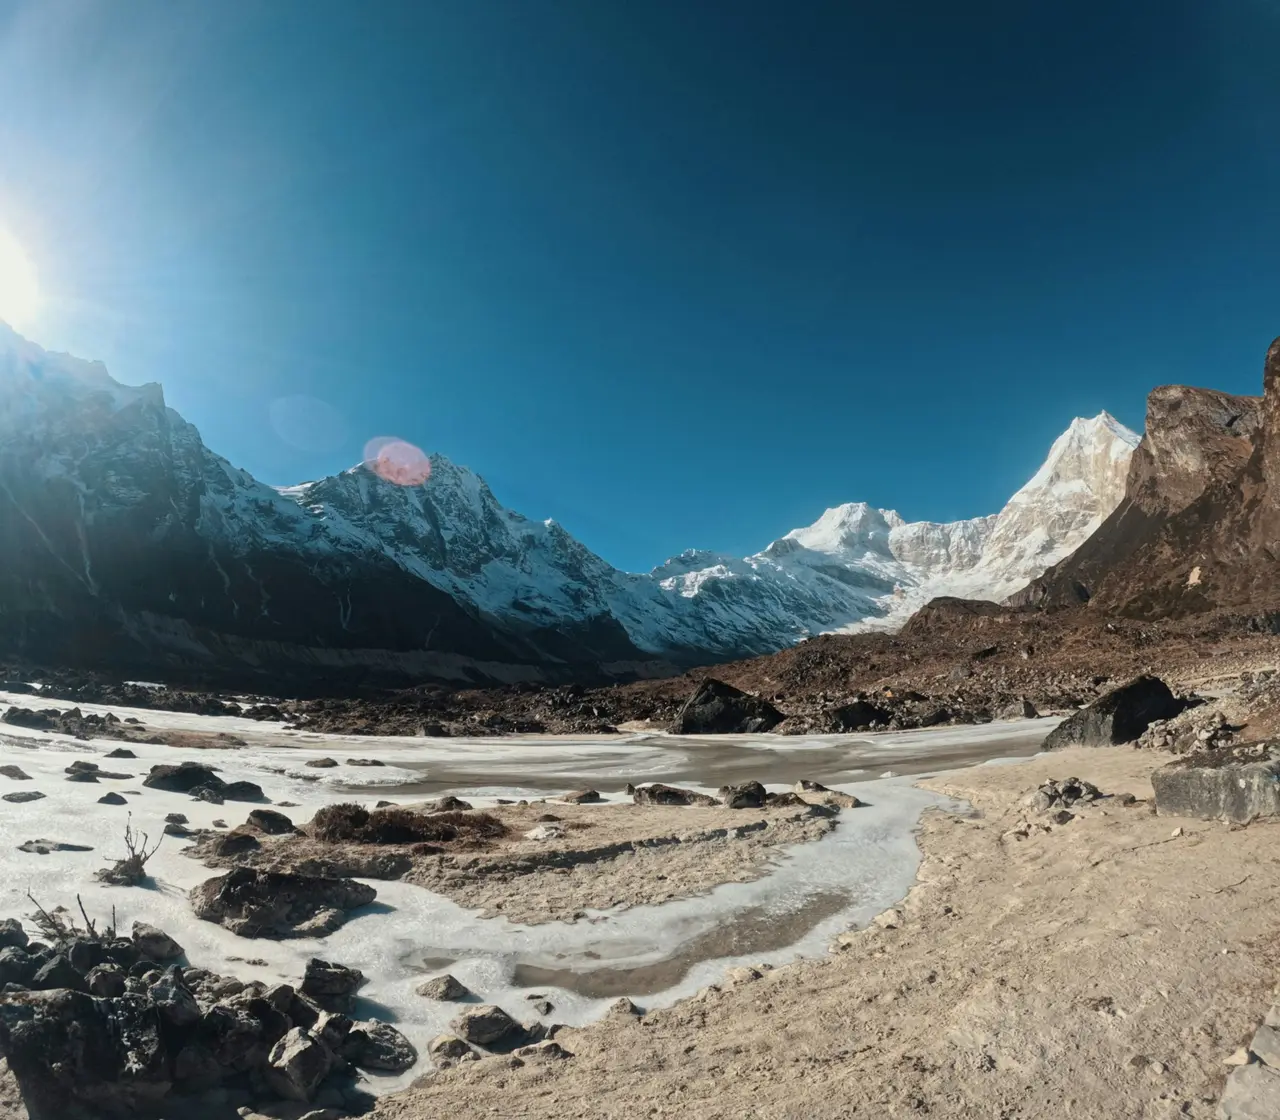
Roped travel across a glacier is taught next: spacing between climbers, managing rope slack, and recognising crevasse indicators such as sagging snow bridges or subtle changes in surface texture. Jumar technique, ascending a fixed rope using a mechanical ascender clipped to a harness, is practised on a fixed line set up specifically for training, along with rappel technique using a belay device to descend the same fixed lines under control. Crevasse rescue, typically a basic companion-rescue pulley system, rounds out most courses, teaching how to build mechanical advantage to haul a fallen climber back to the surface using a small rack of carabiners, slings and prusik cord.
A well-run course also spends real time on rope commands and communication: the short, standardised calls a rope team uses to signal a stop, a fall, or a change of pace, which matter more than they sound like they should once wind and altitude make normal conversation difficult. Most structured courses split each day into a short briefing on the technique before moving straight onto the slope or fixed line to practise it repeatedly, rather than teaching it as a single demonstration; repetition, not explanation, is what makes the movement automatic under stress later.
None of this is exotic. It is the same core skill set taught on basic mountaineering courses worldwide, and a motivated, reasonably fit client can absorb it in two to four days of focused practice. The honest limitation is that a short course teaches the mechanics, not the judgement to apply them correctly under stress, cold and fatigue at altitude, which is exactly why every one of these skills gets practised again, closer to the actual climb, before a summit attempt.
Where to train in Nepal
Most climbers on a standard trekking-peak itinerary do not book a separate course at all; they train on a pre-climb skills day built into the expedition itself, on or near the mountain they are about to climb. Before Mera Peak, this typically happens at or near Khare (around 4,900 m), where guides run clients through crampon technique, self-arrest and fixed-line practice on a nearby snow slope over a day set aside specifically for it before the higher camps and summit push. Before Island Peak, the equivalent skills day happens near the mountain's own base camp, covering the same ground, plus specific rehearsal of the jumar technique needed for the peak's roughly 100 m summit headwall.
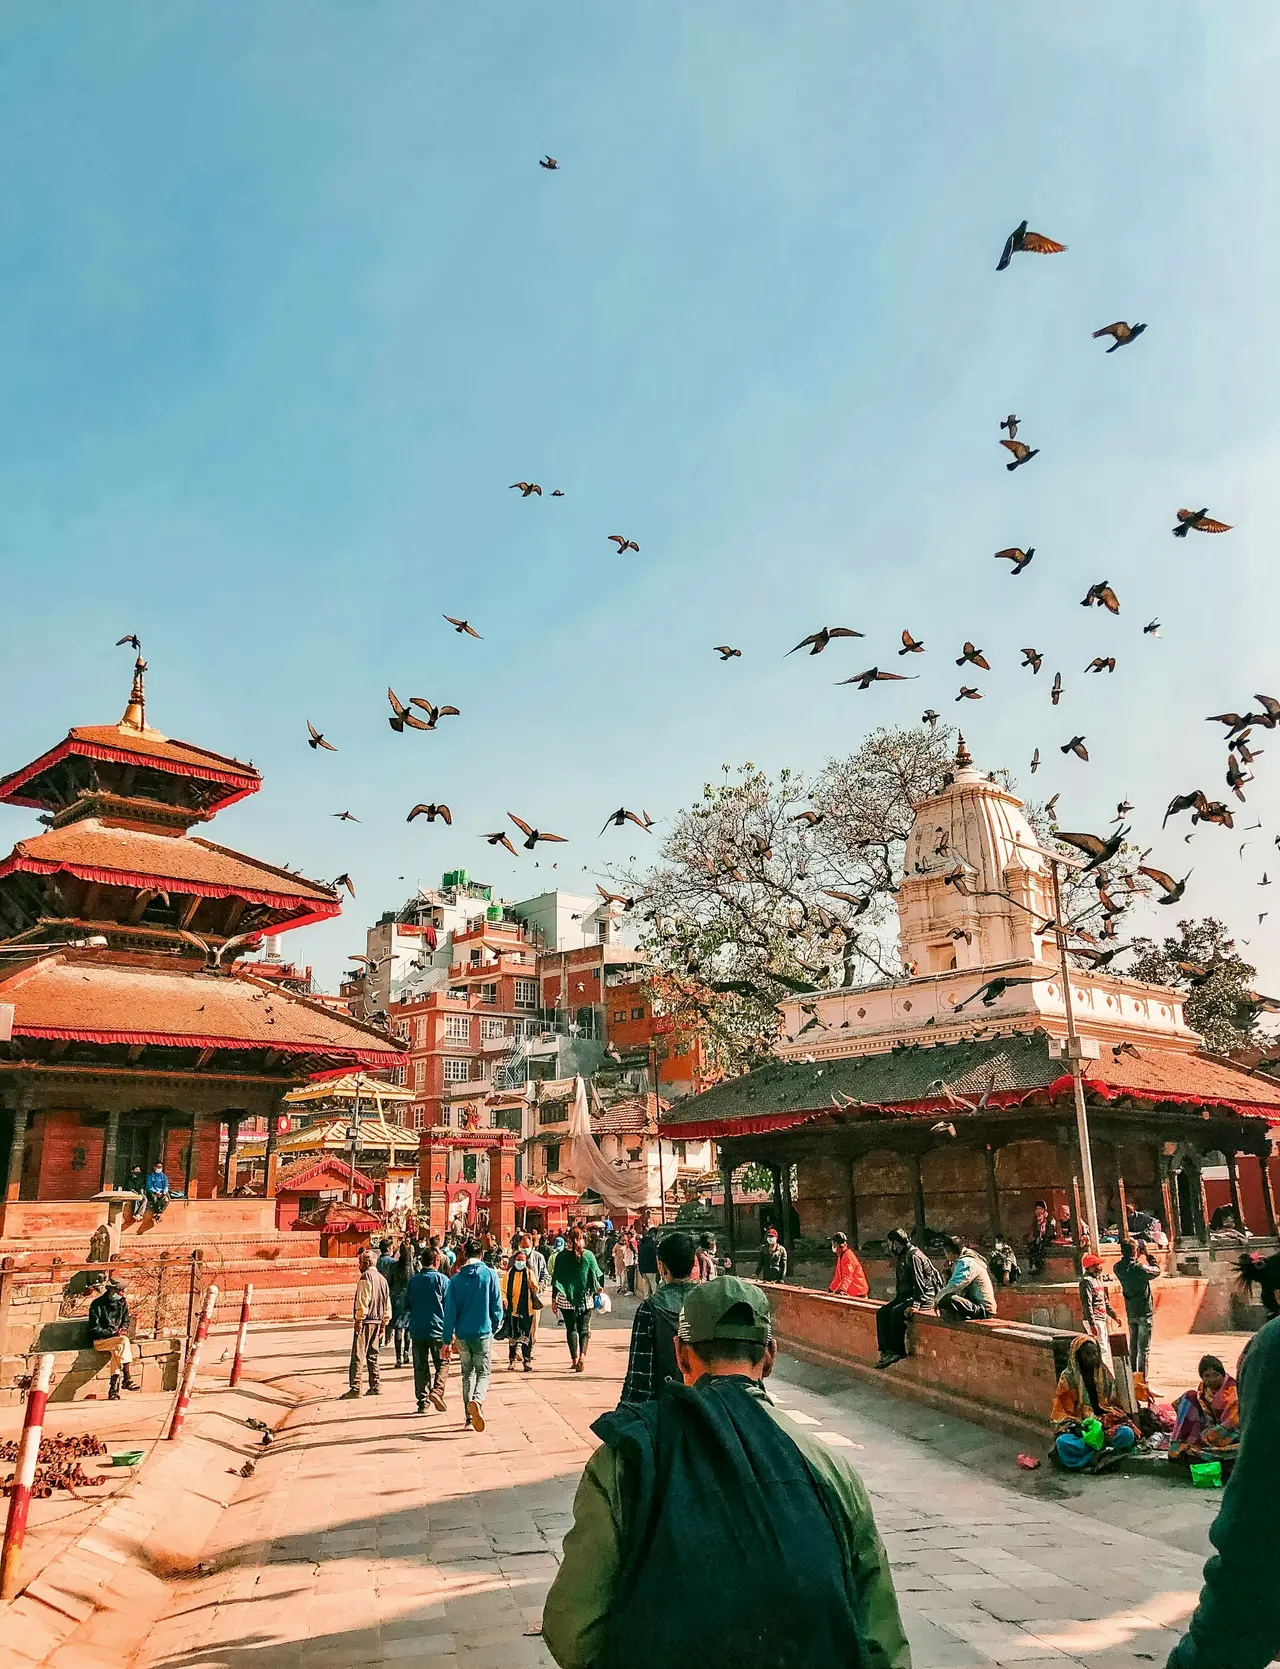
Formal, dedicated basic mountaineering courses also exist in Nepal, run through Nepali climbing schools and training institutes rather than bundled into a specific peak's itinerary, and they typically run seven to ten days on accessible glaciated terrain in the Khumbu or Langtang regions. It is worth being precise about one training institution that gets mentioned in this context and often misunderstood: the Khumbu Climbing Center in Phortse trains Nepali climbing guides, porters and high-altitude workers, raising the technical standard of the people who lead paying clients, rather than running commercial courses for foreign travellers itself. Its existence is still relevant to you as a client, because it is one clear sign that Nepal's guiding workforce has access to structured technical training beyond on-the-job experience, which should factor into how you choose a guide, not where you personally book a course.
A properly run pre-climb skills day, taught by your actual climbing guide on the actual terrain you will climb days later, is arguably more valuable than a generic course completed months earlier and half-forgotten by the time you need it. Either path is legitimate; what matters is that the skills get practised close enough to the climb that they are fresh, not that you hold a course completion certificate.
The terrain used for training also varies by season and snow conditions. Near Khare, guides typically use a moraine-edge slope with a consistent, moderate angle that holds enough snow to be useful without being avalanche-prone; near Island Peak, a similar slope close to base camp does the same job, sometimes supplemented with a short practice fixed line rigged specifically for the group rather than the permanent line used on summit day itself. None of this is glamorous. It is closer to a supervised rehearsal than a course in the classroom sense, and that is precisely why it works: the conditions, altitude and cold are close to what you will face days later, not simulated in a warmer, lower environment.
Training at home
The training you do before you fly to Nepal should focus on cardiovascular capacity and load-carrying strength, because those are what determine how much energy reserve you have left for technical decision-making at altitude, and neither can be built in the two or three days available for on-mountain skills practice. An indoor climbing wall is useful for building comfort with a harness, basic rope handling and movement over technical ground, but it does not replicate cold, altitude or a loaded pack, so treat it as a supplement rather than a substitute for the fitness work below.
A reasonable cardio benchmark before attempting a glaciated trekking peak such as Island Peak or Mera Peak is being able to sustain three to four hours of continuous hiking with 600–900 m of ascent, on consecutive days, without your recovery collapsing by day three. Stair-machine sessions, hill repeats and long, slow distance running or cycling all build the same aerobic base; the specific activity matters less than the volume and consistency in the eight to twelve weeks before departure. Load carries matter separately from cardio: build up to hiking with a pack in the 8–12 kg range over broken or hilly ground, since a typical technical summit day pack, carrying extra layers, water, a first-aid kit and spare batteries, sits in a similar range even after your porter has taken the bulk of your gear to high camp.
Two further habits are worth building before departure even though neither shows up on a fitness test. Practise breathing in rhythm with your steps on steep, sustained climbs at home, since a controlled breathing pattern is one of the few things you can consciously manage when the air genuinely thins out above 5,000 m. And practise sleeping and functioning on deliberately reduced sleep at least a few times, since altitude reliably disrupts sleep quality even in acclimatised climbers, and a summit push often starts after only a few broken hours of rest at high camp. Altitude-training masks and tents can help a small minority of climbers marginally, but treat any specific claim made for them with scepticism; the research behind consumer altitude masks in particular is weak, and neither substitutes for the fitness work above.
What no course gives you
No course, no matter how thorough, can teach your body how it will respond to 6,000 m or 8,000 m of altitude, because that response is individual, not a function of fitness or technical skill, and it can only be tested by actually going higher. A strong, technically proficient climber can still develop acute mountain sickness at 5,500 m while a less fit trekking companion acclimatises without incident, and neither outcome predicts the other's performance on a different mountain or in a different season.
This is precisely why the four-step progression in this article matters more than any single course. Each step above exposes you to a genuinely higher altitude under guided, reversible conditions, building a track record of how you personally respond, before you commit to a technical objective where a bad altitude day is far harder to descend from safely. Hypoxic tents and altitude simulation at home can offer a marginal, individually variable head start, but they are not a substitute for this progressive, real-altitude testing, and no honest guide will tell a client otherwise.
A genuinely good guide will also fold this reality into the itinerary itself rather than leaving it to chance: enough acclimatisation days built in before the technical terrain starts, a plainly stated turnaround policy if symptoms appear, and an honest conversation before departure about preventive altitude medication such as acetazolamide, which some climbers use under medical advice to ease acclimatisation. None of that is a course topic. It is a judgement and planning topic, and it is the single biggest reason to choose a guide with a documented track record on the specific mountain over one who is simply certified.
Cost
Training cost in Nepal usually arrives as one of two shapes: a pre-climb skills day bundled into a peak-climbing package at no separate charge beyond the guide fee you are already paying, or a standalone basic mountaineering course booked and paid for independently, generally in the range of a few hundred to around USD 1,000–1,500 for seven to ten days once logistics, food and lodging near the training site are included. Exact current pricing varies by operator and season and should be confirmed directly rather than assumed from any figure quoted here.
Where a skills day is arranged as part of a small group climbing the same peak together, the fixed costs behind it, the guide's time on the training slope, any rented practice gear, and shared transport to the training site, are cost-shared the same way the rest of the expedition's fixed costs are, so a fuller group lowers everyone's per-person share rather than the training itself carrying a separate per-head fee.
Skills day and guide-fee sharing on a NepGem group climbFAQ
Where can I learn mountaineering in Nepal? Formal basic mountaineering courses run through Nepali climbing schools, typically over seven to ten days in the Khumbu or Langtang regions. Most climbers instead train on the pre-climb skills day built into an actual peak-climbing itinerary, practised at Khare before Mera Peak or near Island Peak's own base camp.
Do I need a course before Island Peak? It is strongly recommended, either as a standalone course or as a properly run pre-climb skills day with your climbing guide. Island Peak's crevassed glacier and roughly 100 m fixed-line headwall are not appropriate terrain to learn crampon and jumar technique for the first time.
How long does a basic course take? A standalone basic mountaineering course typically runs seven to ten days, while a pre-climb skills day bundled into a peak-climbing itinerary is usually a single dedicated day of practice close to the mountain. Both cover the same core techniques at different depths.
How fit do I need to be? You should be able to sustain three to four hours of continuous hiking with 600–900 m of ascent on consecutive days without your recovery collapsing. Technical skill can be taught in days; the cardiovascular base and load-carrying strength behind it need weeks of prior training.
Learn the skills from the guide who will lead your summit day
A pre-climb skills day only works if the person teaching it is the same person making the calls on your actual summit day, which is exactly what a NepGem climbing guide profile lets you confirm before you book: their NMA licence number, documented altitude record on the specific peak you are training for, and reviews from past clients who have already been through that same skills day with them. Hire the guide, not the agency, so the crampon technique, self-arrest drill and jumar practice you do on day three is being taught by the person whose judgement you are trusting on summit night, not a rotating instructor you never see again.


